A guide to help you understand the basics of what Scratch is and how to get started with sequential block coding.
What is Scratch?
Scratch is a block-based visual programming language and online community targeted primarily at children. In computing, a visual programming language is a language that lets users create programmes with visual expressions and symbols rather than text. It’s like making a jigsaw puzzle out of a string of commands. You can programme your own interactive stories, games and animations and then share these with the online community. Scratch also helps young people learn to think creatively, reason systemically and work collaboratively, which are increasingly becoming essential skills for the 21st century.
Who can use Scratch?
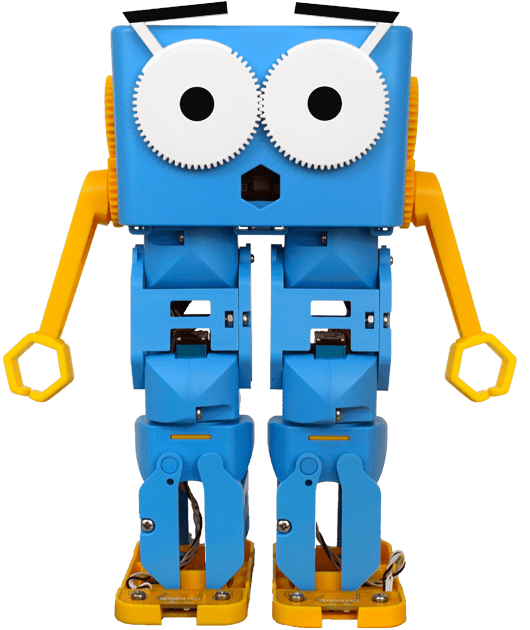
What is MartyBlocks?
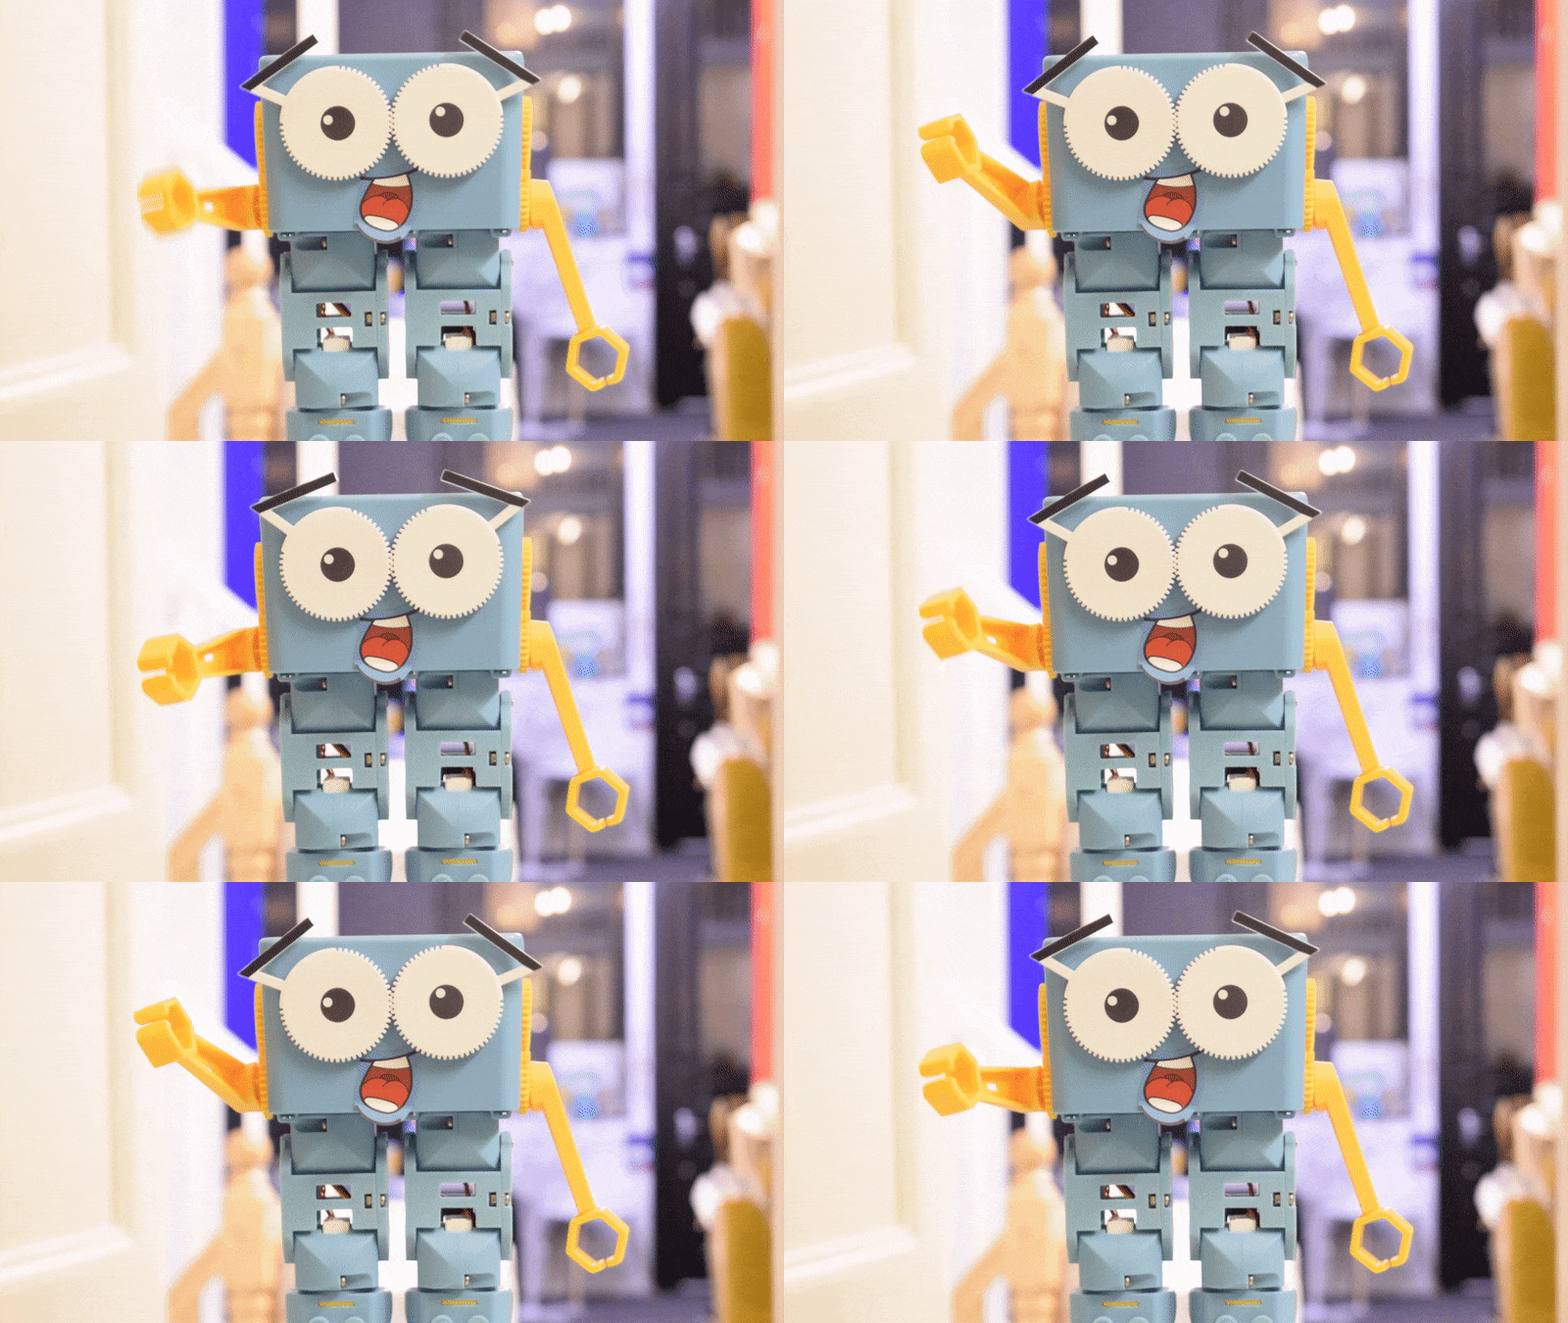
If you’d like to try Marty the Robot, and MartyBlocks for yourself, we offer free, two-week trials with Marty the Robot. We’ll even cover shipping & collection costs and provide virtual training for teachers. It’s a win-win!
The Jargon
User interface: the area in which the user communicates with Scratch or MartyBlocks.
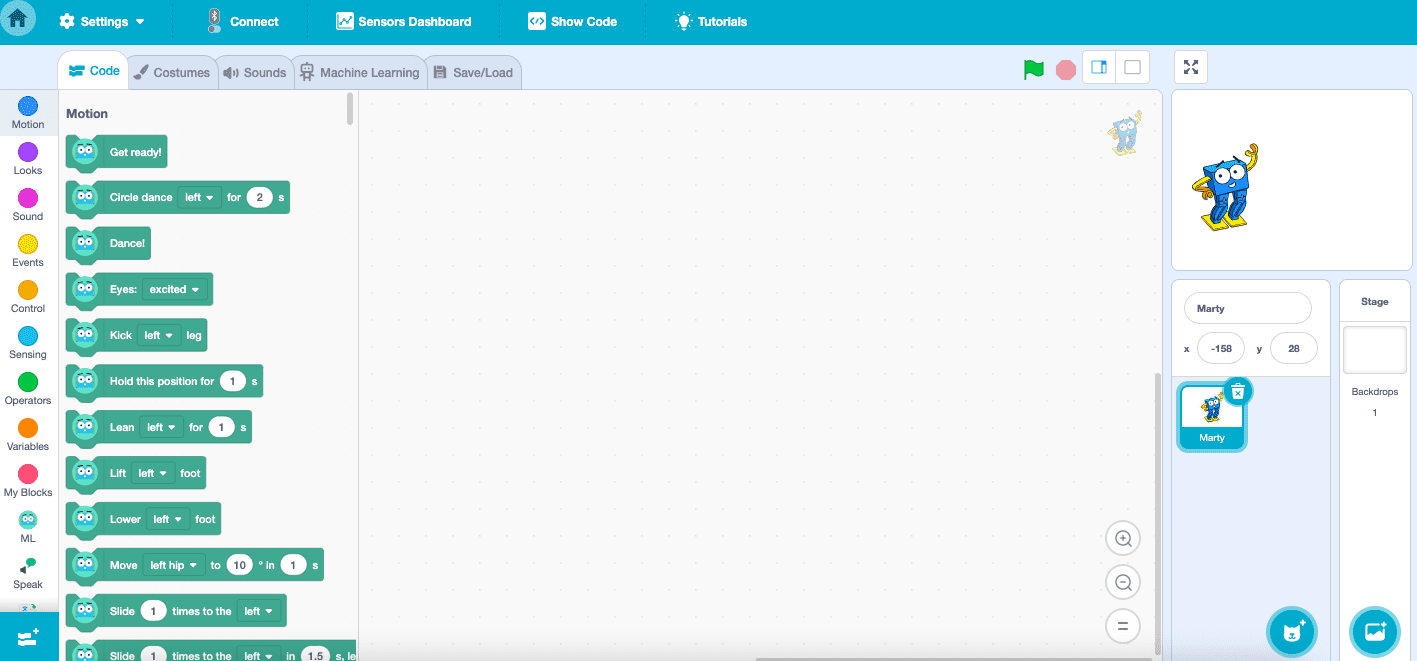
Stage area: features the results of your coding. This is the area where you can see your project come alive.
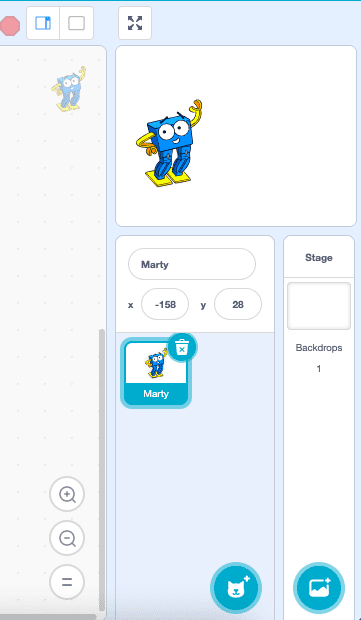
Sprites: these are the images that appear on the computer programme screen.
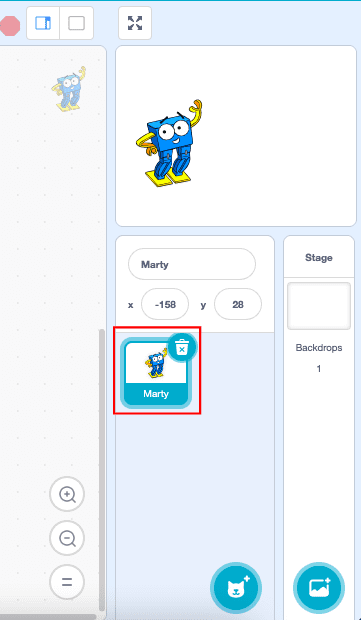
Backdrop: is an image that can be shown on the stage.
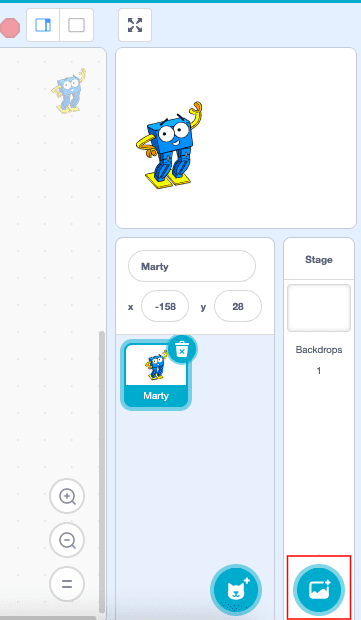
Scripts: are collections of blocks that all interlock with each other. Each block will determine how sprites interact with each other and the backdrop.
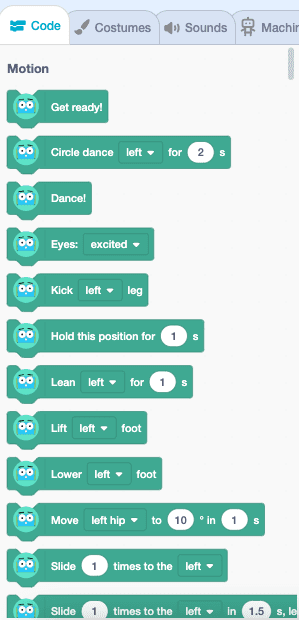
Costume: is one of the many different appearances of a sprite. These can be named, created, and deleted. Every Sprite must have a costume.
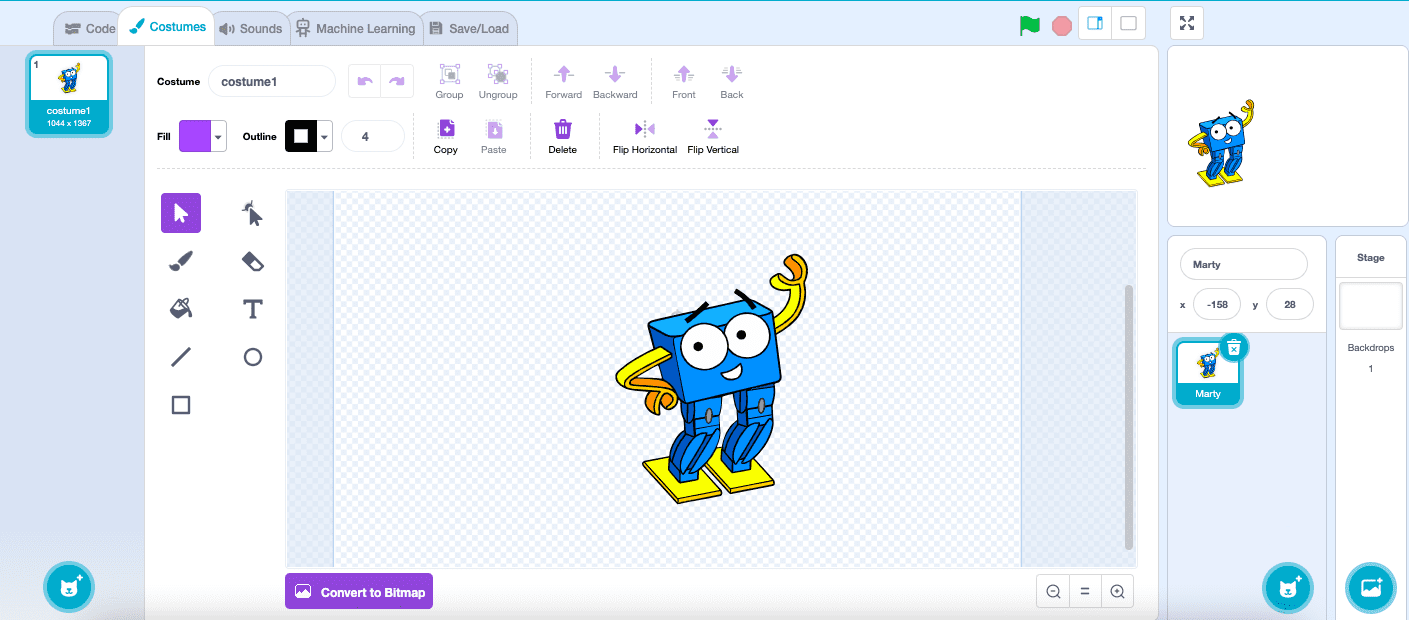
Coding area: we highlighted this with a red box in this image. This is the place where you can assemble your code by dragging the blocks on the left into this area.
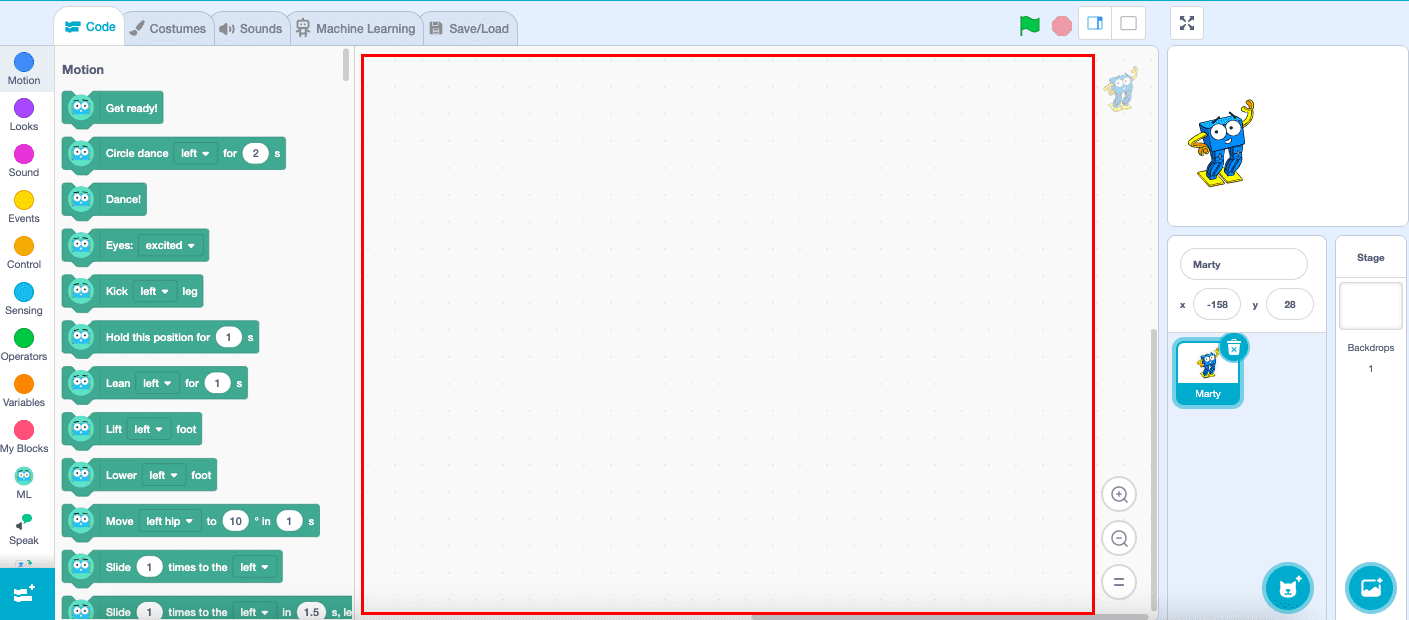
Blocks palette: this is an area of the Scratch User Interface that is located to the left of the Code Area. The block to choose from change depending on which circle you select on the left e.g. ‘Motion’, ‘Looks’, ‘Sound’ or ‘Events’.
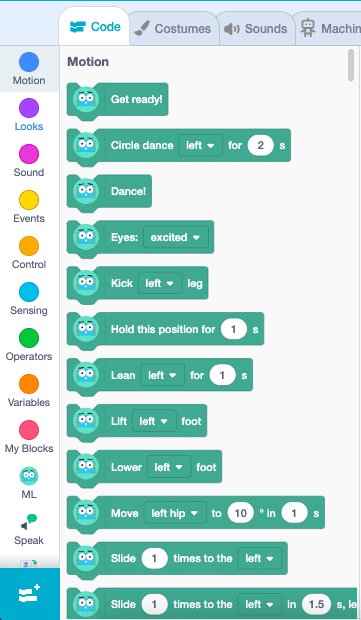
How to Use the Command Blocks
These are the different instructions you can give to your Sprites. They are broken down into eight varieties of blocks:
Motion:
These relate to the ways in which your sprite will move. You can add in different commands that allow you to move your sprites, change angles and positions.

Looks:
Commands in this section allow you to control the visuals of the sprite. You can change the costume, backdrop, size of the sprite and more.
Sound:
This section will allow you to add sounds to your programme. You can add sound effects and change the volume and pitch.

Events:
You can use this part to trigger different commands. For instance, an event could be ‘when the backdrop switches to Backdrop 2, change the loudness of the sound to 10’. This means, the background will change and the sound will increase on a certain command.

Control:
Allows you to add conditionals and loops. A conditional is something that is either true or false, this means the conditional block will only run if the condition is true. A loop allows you to repeat an animation, you can add a motion and sound to a Sprite and then add a loop to ensure this is repeated.

Sensing:
Allows your Sprite to interact with the surroundings. Let’s say you want to make a game where the goal is for two Sprites to never touch, you will need to write a script telling the programme this. Using the loop, can you use the ‘If’ statement to say that if Sprite1 touches Sprite2 then you must ‘Stop all’
Operators:
These are used to script math equations and string handling. Basically, it takes one or more values and uses them to produce another value. When you use values to produce other values in programming, it’s called ‘performing an operation’.
Variables:
These are the blocks used to hold values and strings (like your score or number of lives in a game). Variables allow for more complicated interactions. For instance, if you wanted to create a game where a cat chases a mouse that is moving randomly you would have to add in a series of variables to allow this to happen.
My Blocks:
The primary purpose of these blocks is to make programming easier. They also give you functionality that isn’t built into the other Scratch blocks. For example, you could create a block that would choose at random, saying hello from a number of different languages. It lets you use one block that you’ve coded instead of a whole string of command blocks every time.
Find out more about Marty the Robot, or sign up for a two-week FREE trial here!



Other posts you may like
Robotical Cog: A Joyful Introduction to Physical Computing
At Robotical, we wanted to build a simple, powerful, and joyful introduction to physical computing—something that could spark creativity and imagination in the classroom while teaching the fundamentals of computer...
Unlocking Student Engagement with Gamified Learning
The gamification of learning is revolutionizing classrooms, transforming traditional teaching methods into dynamic and interactive experiences. By incorporating game elements, educators are finding new ways to boost student engagement and...
Building Emotional Intelligence Through Robotics
This summer I had lots of chances to use my translation skills. Having over 40 languages and accents made traveling through places like the Netherlands, Italy, Iceland and Japan so much fun!
TRY MARTY
FOR FREE
Are you looking for new STEM resources for your classroom? Robotical are loaning Marty the Robot to schools for no-obligation, 2 week trials.